Make It Yours: Peak Performance Saddle Settings
30 JUL 2023
PRO Community Rider, Scotty Laughland helps you set up the new PRO MTB Saddle to make it yours and power your performance.
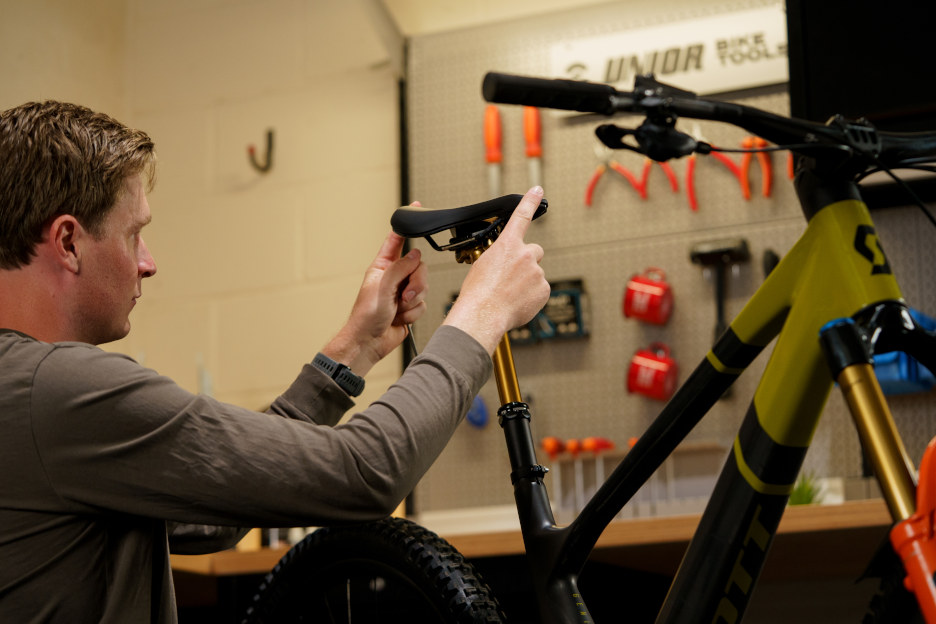
PRO Community Rider and MTB star Scotty Laughland is here to help you set your saddle to max comfort and performance, optimizing it for your body, your position on the bike and your riding style.
‘I’m not telling you how to fit a saddle,’ Scotty explains. ‘I’m just going to give you some ideas on how to get the most out of your MTB saddle depending on your riding style. First up: set it to the right height.’
Saddle height
‘Fit your new PRO saddle to your bike, put on your riding shoes, and adjust your saddle to a height around your hip bone. Then sit on the bike and place your foot on the pedal. For the most efficient pedaling position, make sure you can drop your heel from flat with the pedals at 6 o’clock to about 30 degrees, noting that you do not want to have a locked-out leg. Adjust accordingly to get it right, this may take 2 or 3 attempts.’
Saddle rails
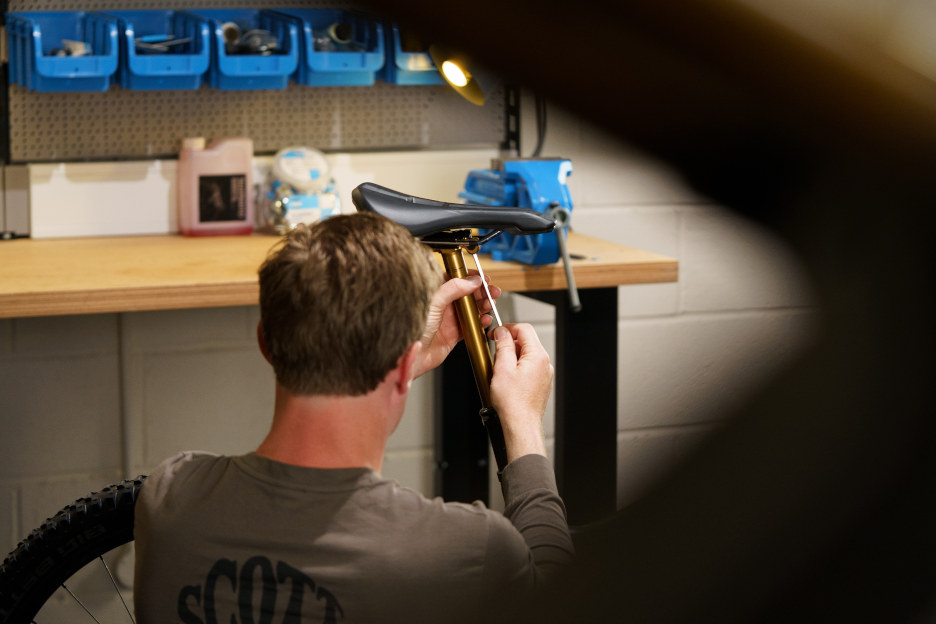
‘Next, we’ll adjust the saddle rails. Sit on your bike with your saddle at the correct height, move your cranks to a horizontal position and put your favored foot forward. Personally, I want to feel that my hips are firmly in the saddle. Imagine it’s scoping you into a comfortable position that is easy to sit in. To find this, adjust the rails laterally until you find the sweet spot for your body position. Once found, mark it with a piece of tape or write down the corresponding position of the rails.’
The right angle
‘From here, it’s time to get the correct angle of the MTB saddle. This is dependent on what mountain bike you are riding. This is the tricky part though, if you’re on a full suspension bike your bike's seat tube angle and suspension sag also play a part in determining where you position your saddle.
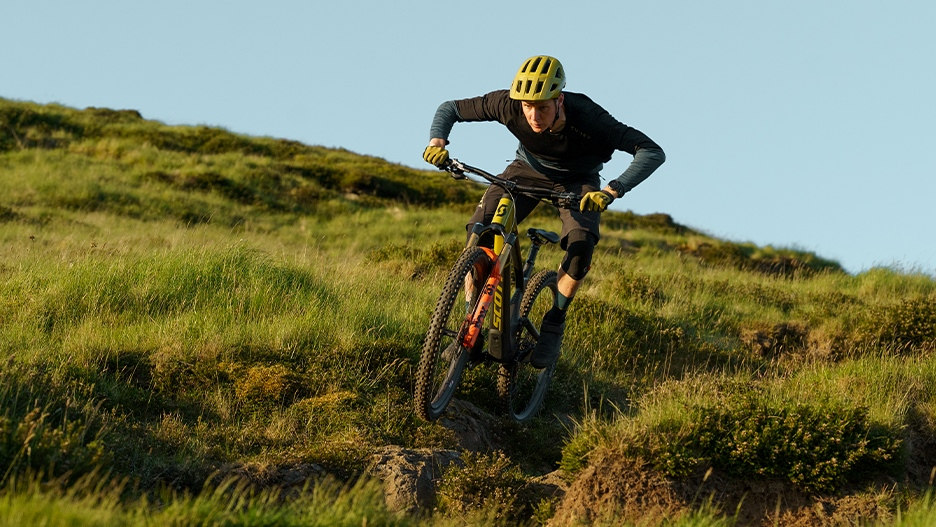
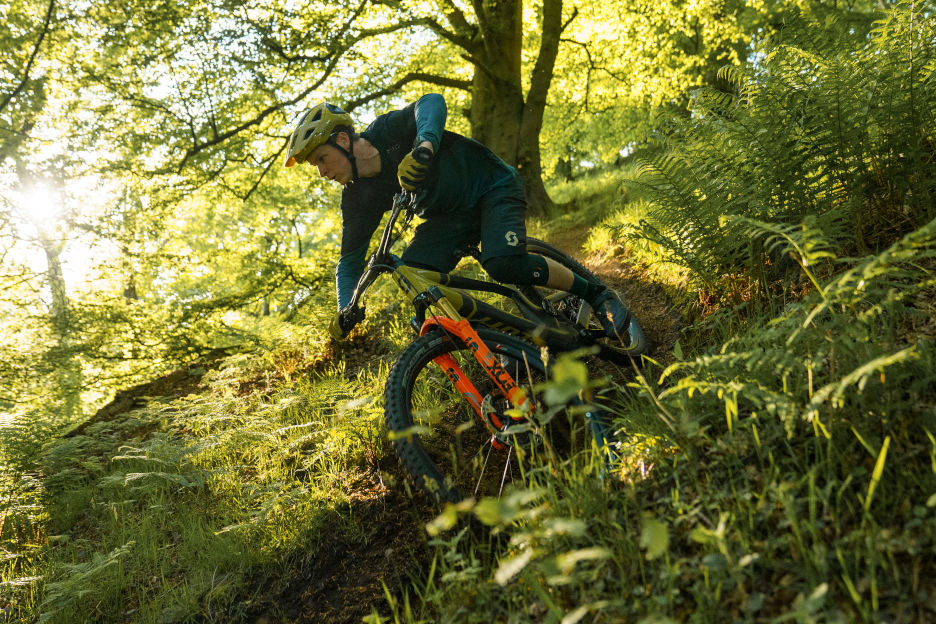
‘If it’s cross country you’re riding then you’ll more likely have it ever so slightly dropped at the nose for the ease of getting in and out when on technical climbs. For gravity-based riding, it’s more likely to be angled nose upwards so you can get off the rear of the bike and get your weight on the rear wheel for grip and braking control whilst descending.
‘My best piece of advice is to set up a fairly neutral base position and then go for a ride on a familiar loop and adjust accordingly. It’s one of the easier adjustments that can be made on the fly and can be a major factor in determining your bike's performance, capability and comfort.’
