
Whether you've been riding for decades, are coming back to cycling after a long hiatus, or are embarking on your two-wheeled journey, comfort is key when it comes to enjoying your time on the bike. Finding the right saddle for you and your anatomy is the first place to start. But once you've zeroed in on the right saddle, how can you ensure it is set up properly to maximize comfort?
For the best possible results, visit a PRO Dealer or bikefitting.com professional trained to dial in the saddle position specifically to your body and ride style. These professionals have years of experience matching riders with saddles and ensuring a good fit for any riding style.
If you can’t make it to your local PRO dealer, or you’re DIY-inclined and want to set things up on your own, follow the below simple steps to personalize your setup and find that perfect saddle position.
Measure Twice, Mount Once
The first step in replacing a saddle is to measure your current saddle position so you can use that as a starting point for mounting your new one. Begin by measuring two key numbers before removing the old saddle.
First, measure the saddle height from the center of the crank bolt (directly in the center of the bottom bracket) to the center of the saddle. Write it down and save it for this saddle install (and to see if your position and bike fit change over time).
Second, measure the reach from the middle of the handlebar on the top of the bar – where the stem clamps to the bar – to the saddle center. Write it down and save it for later.
As a bonus measurement, pull out a level and measure the tilt angle of the existing saddle. A digital level can provide an exact measurement. Only have a traditional bubble gauge tool? Set the level on the saddle, running lengthwise, then take a photo of the bubble position. When setting up the new saddle, use this photo for reference.
Clamp It Correctly
If you are switching to a saddle with oval rails instead of round rails or vice versa, be sure to install the correct clamps for your seat post. Each PRO post comes standard with a 7x7 camp adaptor that is used for aluminum and tinox saddle rails, as well as a 7 x 13 mm clamp adaptor for carbon saddle rails. Using the wrong clamp can either damage rails or not properly secure the seat to the seat post at the recommended torque spec, so pay attention to this critical detail

Determine the Saddle Neutral Tilt
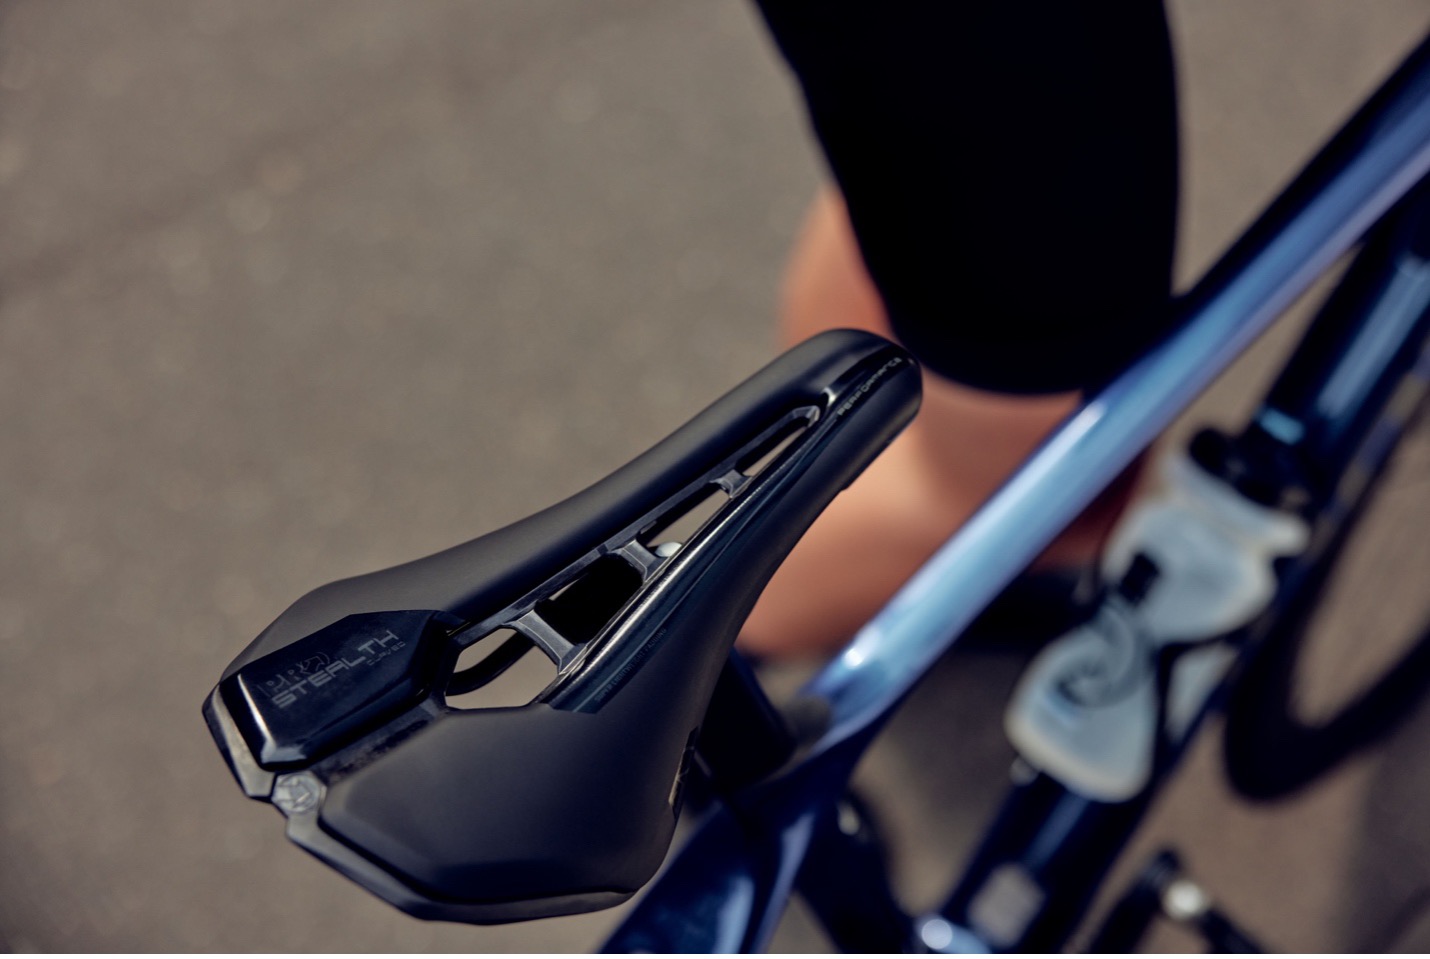
Use a level to set up your new saddle in its neutral tilt position. This is the angle that PRO’s engineers designed the saddle around that delivers the best possible support and comfort with unwanted pressure points for most riders.
The PRO Falcon, Griffon, and Volture Saddles have a 0-degree neutral tilt position, while the PRO Turnix and Stealth have a -1-degree (tilted slightly forward) neutral position. A digital gauge can help arrive at that number exactly.
Use a level from the hardware store and a flat piece of material (plywood wood scrap, cutting board, or long level) to determine the tilt angle. Remember that photo from earlier in the setup? Refer to that if swapping out the same saddle or one with the same neutral tilt angle.
Mount Your New Saddle
Now that you're ready to swap your saddle, remove the old one from your seat post and mount the new one. Gently tighten down the new saddle to prevent wobbling or slipping during fine-tuning. Check the saddle height and adjust it to match your previous saddle height (crank center to saddle center). Remember that each saddle can differ in height due to different base profiles, construction, rail shape, and padding on the top. So, you may need to adjust your seat post up or down with the new saddle mounted.
Once your saddle height is dialed, loosen the saddle fixing bolts slightly and move the saddle forward or backward to fine-tune the correct reach (center of the saddle to center of the handlebar). Then, tighten everything down to the correct torque specs to ensure a strong connection without damaging the saddle rails. On PRO seat posts and saddles, this is generally around 13 Nm.
Double-check your measurements, including the saddle tilt angle, saddle height, and reach, to make sure everything is lined up as you want it. Now, it's time to ride.
Test Ride
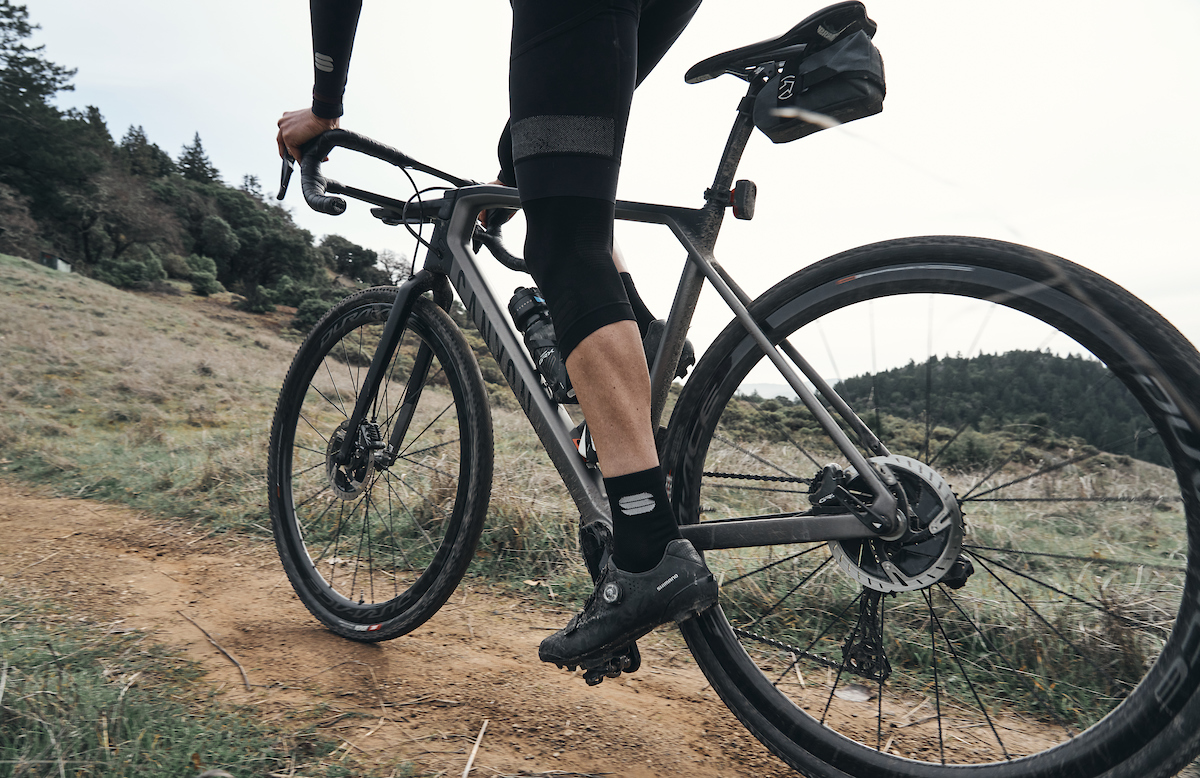
Start with a short outing, like a spin around the neighborhood or a leisurely coffee ride, to be sure the saddle is where it needs to be. Avoid testing out new equipment of positions on important ride days, races, or big adventure rides.

When test riding, be sure to use a chamois and your regular pair of shoes, as changes in sole stack height and chamois pads, as small as they are, can make a big difference in the feel and fit of a ride. Bring a multitool to make micro-adjustments as needed or tighten anything down that may have been overlooked in the excitement of dialing in this shiny new saddle.
All PRO saddles come with a 30-day fit guarantee, so don’t be afraid to give your body a few rides to adapt to a new saddle.


